5 Tips To Make Your Next Apple Pie Quick, Easy and Awesome.
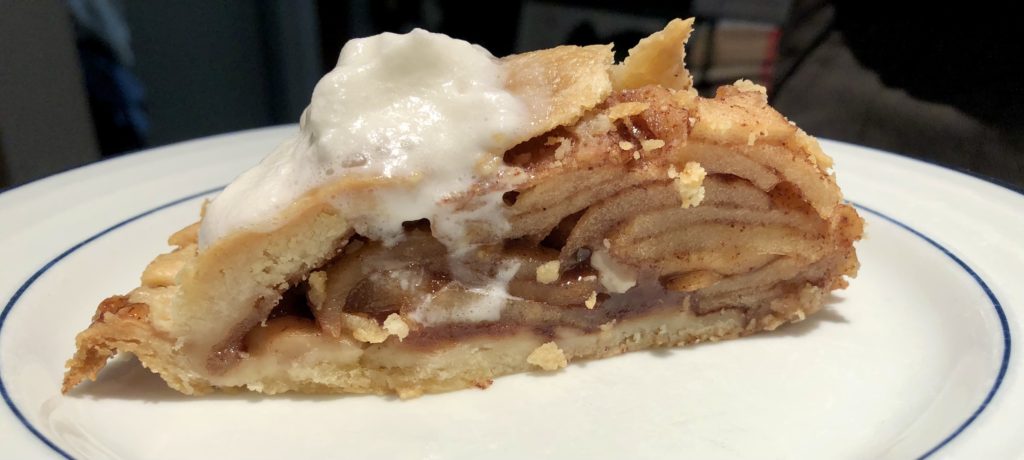
What I think about when I make an Apple pie (or any pie) is how do I plan for what might go wrong. If I run out of some ingredient, are there substitutions? Will the filling be thick or thin? Will the crust be soggy or develop bubbles? Will the crust or pie filling burn? And will it taste good?
Nobody wants problems when following a recipe. Can you plan for everything? Well, no. But you can plan for most things. So, it’s best to always be prepared for what might happen. And try to add short cuts to save time because no one wants to spend the whole day in the kitchen.
So here are my 5 Tips to help you save time when making your next fruit pie.
For this discussion, I will use the Apple Pie I made on January 23rd which was National Pie Day.
- Limit the Ingredients – when you can
- Plan, Plan, Plan
- Pre-bake Routine
- Bake and Cool
- Serve and Storage
Limit the Ingredients – when you can
For fruit pies, my basic ingredient list (after the fruit) consists of just 4 elements:
- Sour
- Sweet
- Thickener
- Flavor enhancer
Sour – Add Lemon Juice, bottled or fresh (or lime juice) to balance the sweetness and prevent browning in the Apples. If you want to experiment, you can also add the juices of Orange (or Tangerine or Grapefruit), Pineapple or Passion Fruit. Just remember to adjust the sweetness accordingly and taste as you go, since not all flavors mix together well.
Sour Substitutions: If no citrus is available (bottled or fresh), you can add the following:
- Rose’s Lime Juice – this is sweetened, so you will have to decrease the sugar.
- Triple Sec – Sweetened Orange Liqueur with a low alcoholic content (about 17 percent compared to Grand Marnier or Combier, which are both 40 percent). The sugar should be decreased here too.
Warning: Alcohol added to food never burns off completely. See this article from the US Department of Agriculture: https://www.nal.usda.gov/sites/default/files/fnic_uploads/Alcohol-Retention.pdf
Sweet – The pies that I make most (Apple, Blueberry, Peach and Sweet Potato) all require different amounts of sugar to sweeten them (granulated for the fruits and brown sugar for the Sweet Potato).
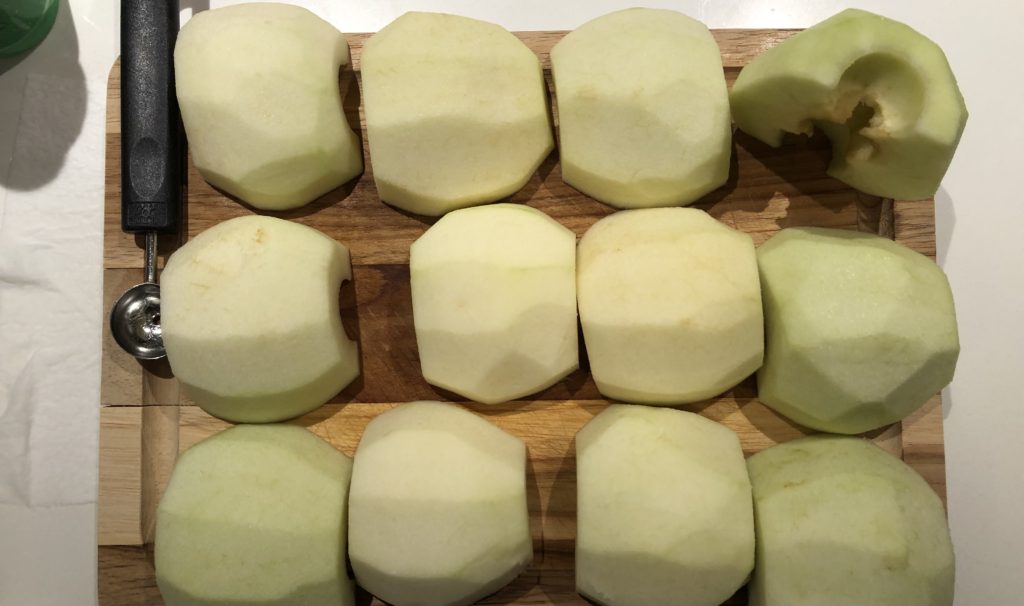
For Apple pies, I prefer the MacIntosh variety, which are a little sour and a little sweet, so I use the ratio of about 5 to 6 Apples (about 2 pounds) to ½ to ¾ cup of sugar. Again, taste the Apples as you peel them to gauge the sour to sweet ratio and adjust as needed. The sweeter the apples, the less sugar you should add.
When testing the recipe for this post, Granny Smith apples had to be substituted for 1 version of the pie (my local stores were out of Mac Apples – shortages / stock outs do occur). For me, Granny Smith Apples are more sour than Mac Apples on average, so for 2 pounds of Granny Smiths, I add about ¾ to 1 cup of sugar, but again, always taste as you go in order to correct the sweetness levels.
Sugar Substitutes: I try not to make substitutes here. However, if you must make them…
- Cane Sugar – works well here, 1 to 1 substitution.
- Light Brown or Dark Brown Sugar – works well here, 1 to 1 substitution, but the pie filling will be much darker.
- Confectioner’s Sugar – not recommended as results are mixed. The ratio is 1 ¾ cups Confectioner’s Sugar to 1 cup Granulated. BUT … you have to reduce the Cornstarch in the recipe by at least half, since Confectioner’s Sugar has Cornstarch in it. When Flour is your thickener choice, you have to experiment to get the pie filling to the right consistency.
- Honey – Honey is much sweeter than Sugar, so for 1 cup of granulated sugar, substitute ½ cup plus 1 tablespoon of Honey.
Thickener – Both Flour and Cornstarch can be used to thicken the juices in Fruit pies. I prefer Cornstarch. The cornstarch to apple ratio is about 1 tablespoon for 2 pounds of apples. Make sure that you blend the cornstarch with the dried spices and that there are no clumps.
With flour, you have to use twice as much as Cornstarch and the filling frequently becomes cloudy. Occasionally, flour also produces a “floury” taste if you add too much. Experiment and try both.
Flavor Enhancer / Booster – Apples taste great by themselves, but some spices really add depth of flavor to pies. For Apple Pie, I add ground Cinnamon, Cloves and Allspice. Nutmeg and Mace work well here too, but I tend to use these more for Peach and cream-based pies, like banana cream or pudding pies. Or Egg Nog Pie? Can you imagine that?
Plan, Plan, Plan
If you have everything ready (preheated, pre-greased and premeasured) before you start, then the recipe should go fast.
Preheat oven first. It can warm up as you prepare everything else.
Frozen crusts versus homemade? If you want the recipe to go fast, use frozen crusts. If you have the time, then make a pie crust from scratch. Leave a comment below if you want my best recipes for pie crusts.
Pre-greasing pans for frozen crusts is not necessary.
For frozen pie crusts, buy packages that contain 2 crusts (I used Oronoque Orchards 9 inch Deep Dish Frozen Pie Crusts – www.mrssmiths.com) and then you can have a top crust, make a lattice crust or create unique patterns.
Remove the crusts from the freezer 30 minutes before you plan to bake the pie. This allows the top crust to thaw and becomes easy to work with. Placing the top crust on a piece of parchment paper with the pie plate removed allows the pie dough to flatten gradually.
Premeasure the spices first. These can be combined with the thickener of your choice in 1 small bowl and set aside.
Peel and core the Apples.
After cutting the apples in half, use 1 of the following methods to remove the cores and stems:
- Spoon
- Paring / Utility Knife
- Melon Baller / Small Ice Scream Scoop
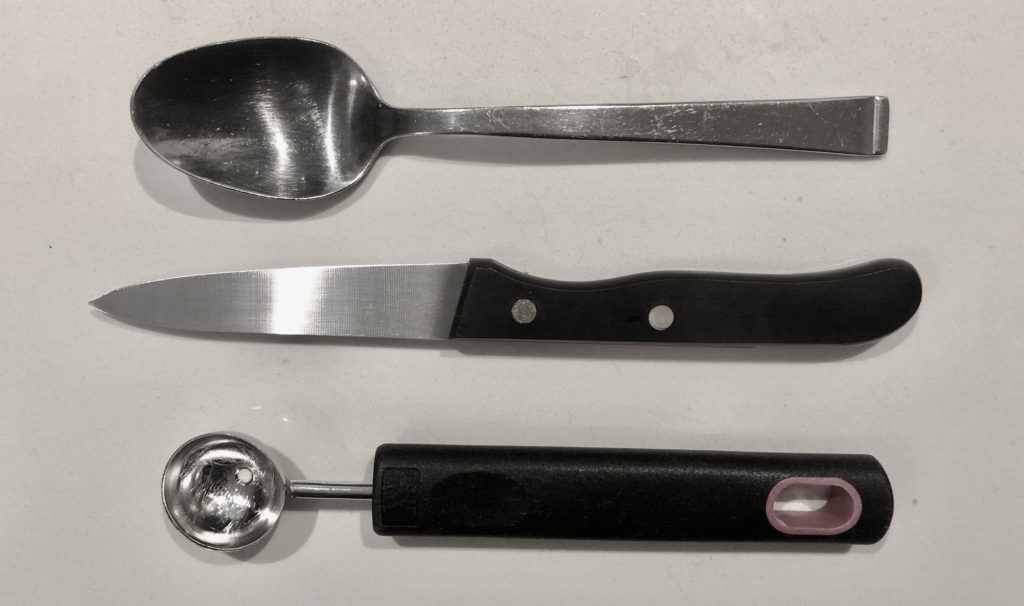
Spoons will probably be the most available utensil you have, but not the most efficient as we tend to cut out more of the apple then we would want.
Knives: Use a Paring or Small Utility Knife with 3-to-6-inch blades. This can also be used to core and peel at the same time. This is most efficient if you don’t mind cutting off more apple. One cut and done per quarter slice.
Melon Ballers are not the easiest to use and are not the most common tool in everybody’s kitchen. But they are multi-purpose. Use for Salads (“Melon Balls”), desserts (very handy for making Chocolate Truffles and Ice Cream) and vegetables, when you want different visual presentations. Melon Ballers come in 1 to 3 cm (1/2 to 1.5 inches) sizes. I use a 1 inch.
Try cutting balls of fruit with a paring knife. Not easy.
Alternatively, an ice cream scoop can also be used instead of a Melon Baller.
Pre-Bake Routine
Use protection and employ a prevent defense.
Now you want to prevent the filling from creating a mess, while baking. So, you need to do 4 things to protect the crust.
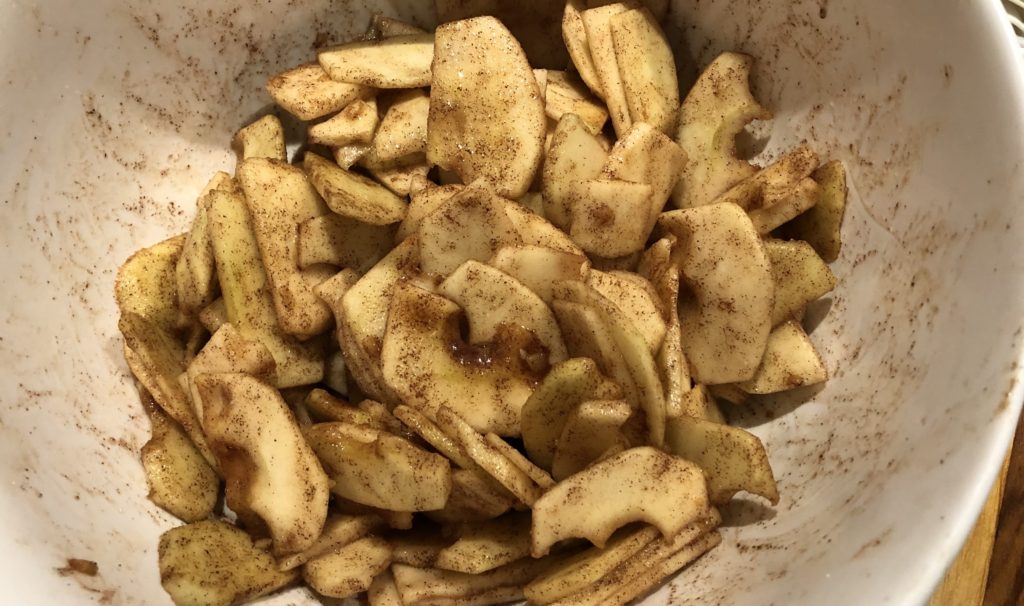
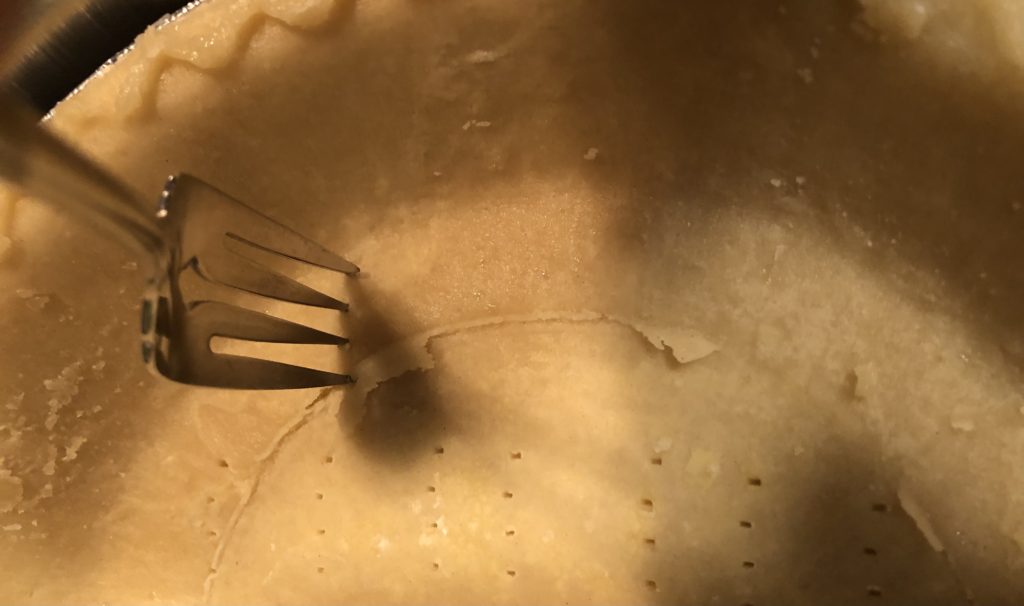
Fork it:
Prior to adding the filling to the bottom layer of the pie, we need to “prick” the pie crust, bottom and sides to prevent bubbles. Bubbles form when steam puffs up a portion of the crust. It displaces filling while cooking and can cause a mess.
Anyone who has visited a local pizza store to watch fresh Pizza being made, has noticed that during the baking process, the Pizza Chef pulls the pie out of the oven and pops the “bubbles” in the pie with a pizza cutter.
Me? I prefer the bubbles in Pizza. But we don’t usually want them in the Apple Pie.
Crimp it:
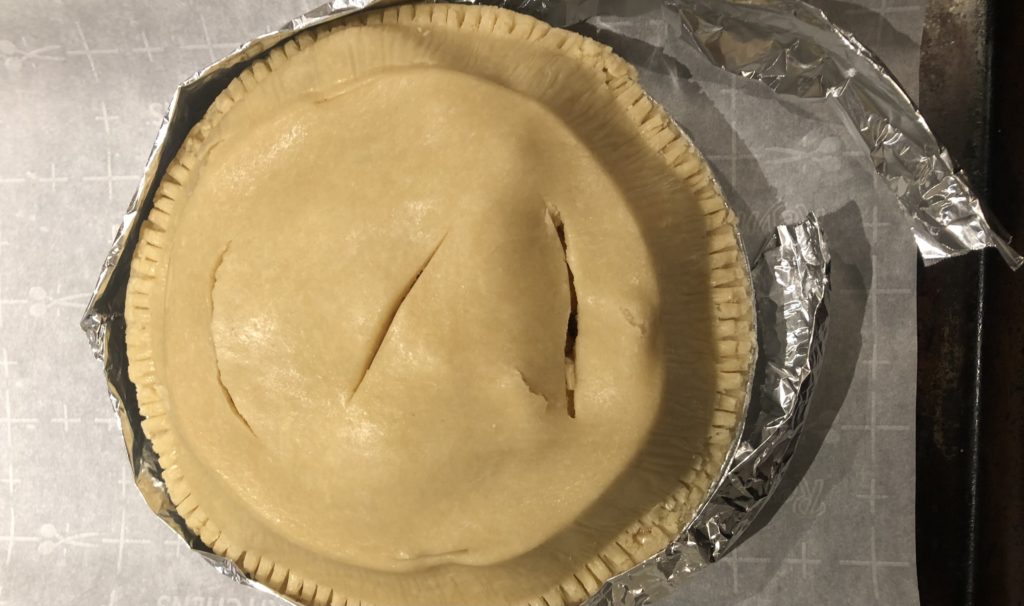
When you lay the top crust over the filled pie, trim the edges against the side of the baking dish or pie plate, with a knife, so the pie crust is not creating an overhang effect at the edges. Then using a fork, press the fork tines into the crust edges to seal the upper and lower portions of the pie dough together. This creates a seal to prevent leaking from the sides of the pie.
During baking, when pie filling bubbles out of the pie, it either spills onto the cookie sheet, the parchment paper on the cookie sheet or on the oven floor and begins to burn. You do not want this to happen.
Slice it:
While the pie bakes, a little steam is created from the pie filling as it begins to boil and needs an exit. A few cuts in the top crust allow the steam to escape and allows you to see the pie filling “bubbling” through, which is a sign of doneness.
Foil it:
As the pie bakes, the crust edge may brown faster than the rest of the crust and we want to prevent it from browning further. So take some tin foil (1 piece about 16 inches long) and tear in half lengthwise (tear in half the long way; 2 strips 16 inches long and 6 inches wide). Now each of these strips should then be folded over 2 times, so you have 2 strips, 16 inches by 1.5 inches. Overlay 2 of the ends of the foil strips to form 1 strip 31 inches long by 1.5 inches. This should be ready before the pie goes in the oven.
Bake and Cool
Cookie sheet or pie plate?
When baking anything where the filling may ooze out, you have to protect both the baking pan (pie plate) and the oven interior. Fruit pies should bake on a cookie sheet lined with parchment paper. The sheet used to let the top crust thaw can be used here.
Substitutions:
- Aluminum Foil (Tin Foil) – you can use this. But if filling leaks on to the cookie sheet, then the Tin Foil may stick to it. If the tin foil sticks, then after the pan cools and the pie is removed, add warm water to the pan and let sit for an hour or overnight. This will dissolve the pie filling.
- Wax Paper: you can use this just like Parchment paper in this instance.
Now, place the pie in the preheated oven, on a shelf in the middle and set your timer for doneness. My Apple pies take about 45 minutes at 350 degrees. Not all ovens heat evenly, so check your pie after 15, 30 and 45 minutes to track progress.
I will always set a 2nd timer to prevent over browning on the crust edges. After about 25 minutes, I check this. If the edges are browning faster than the top, then pull the pie out and place the tin foil shield around the edges. Use oven mits (or pot holders), so you don’t burn your hands.
The pie should be done, when the top crust is a golden brown AND the pie filling is boiling (bubbling) through the open slits in the top crust.
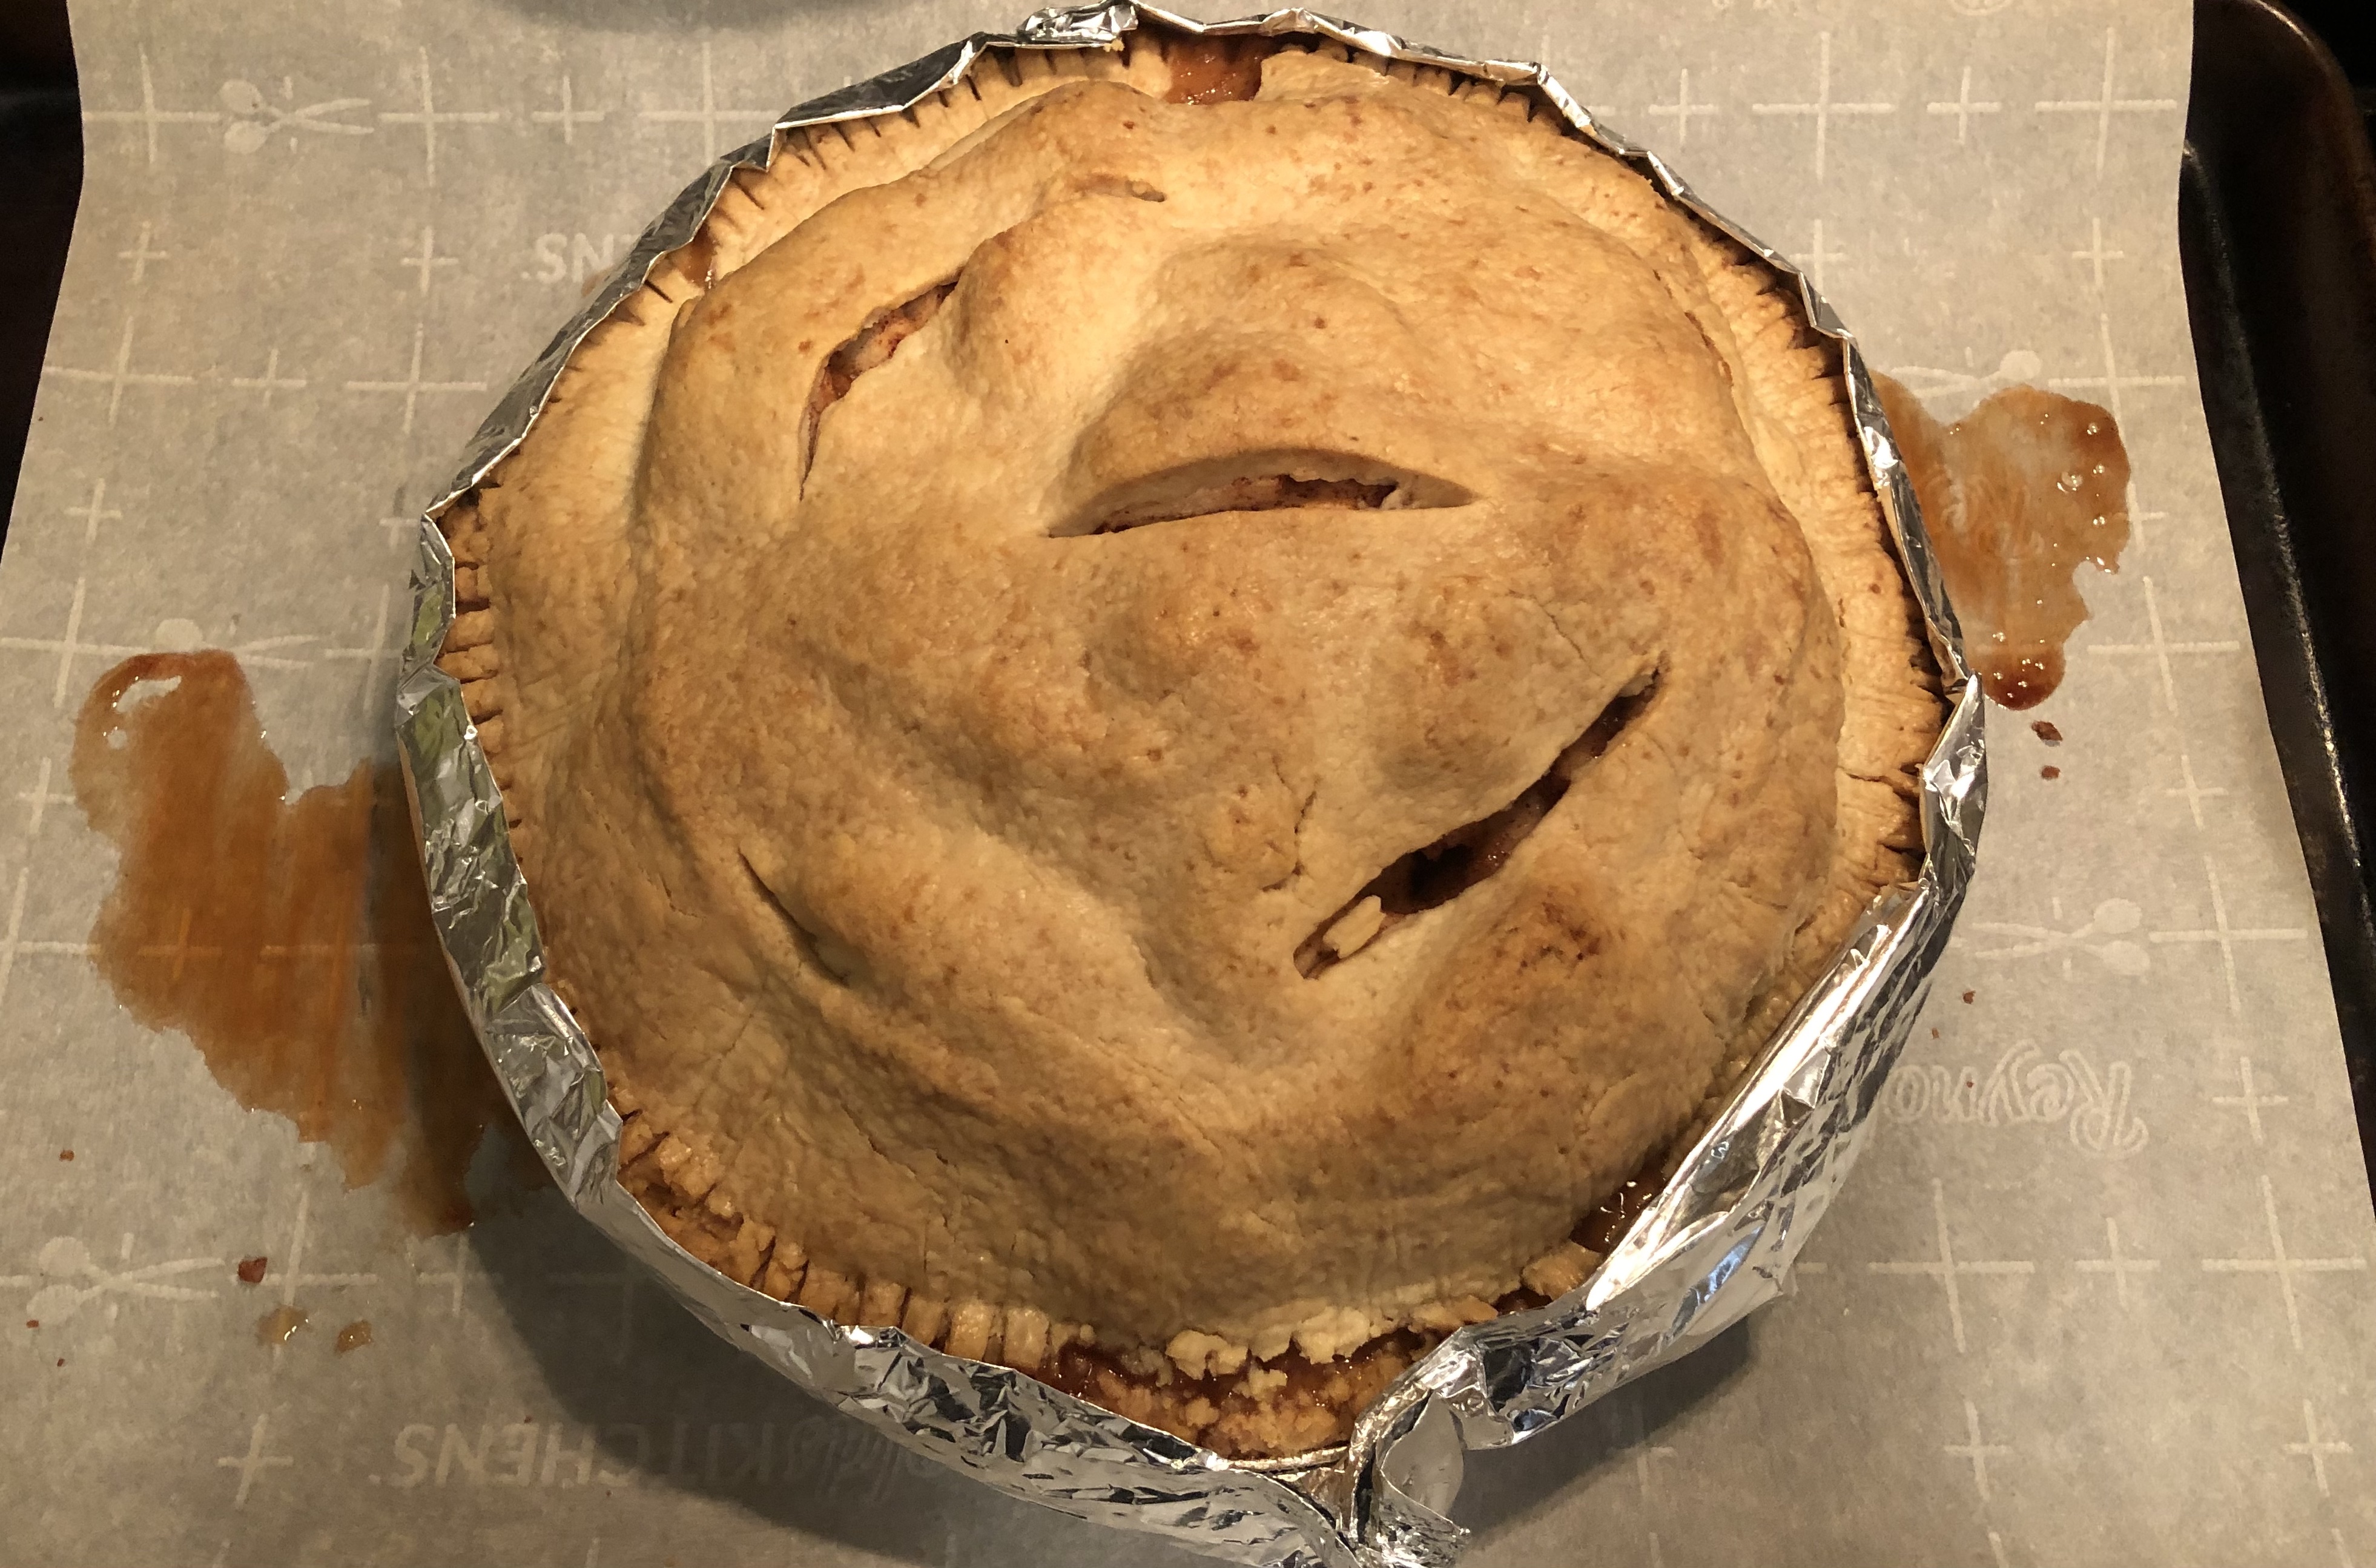
Allow to cool on a wire rack if you have one. Otherwise, it can cool on the counter on a kitchen towel or wire rack.
Serve and Storage
Serving warm and plain is popular, straight forward and quick and easy. Then again, some people like to serve it other ways:
- A La Mode – Ice Cream (whatever you like is fine – it’s your pie after all). For other people, give them a few choices: Vanilla, Chocolate, Strawberry, Coffee, etc.
- Whipped Cream, sweetened or lightly sweetened.
- Heavy Cream, unsweetened.
- Cheddar Cheese – Melted is good.
- Nuts.
- Caramel Sauce.
- Apricot or Peach Glaze.
When completely cooled, cover with plastic wrap and refrigerate for up to 2 to 3 weeks.
Can the baked pie be frozen? Yes. BUT do not do this with warm or hot pie. This should only be done with pie pulled from the fridge or pie at room temperature.
Cover with plastic wrap, then place pie in the freezer for 2 to 3 months.